Every camp needs an outhouse. And every outhouse starts with a plan. There are many outhouse designs online. We selected a simple outhouse plan for a structure that is simple to build, doesn’t require too much finessing, and can be erected in a few hours. While the outhouse is simple to build if done right it will last for years to come.
There are many ways to build an outhouse. You can use pallets, discarded lumber, our new wood products. If time is of the essence, then we recommend using new lumber. It will save you a lot of time. Ultimately to build an outhouse you will need a base, 3 walls, a roof and a door. We used these simple outhouse plans and we are very happy with how the outhouse turned out. You don’t need to be an expert carpenter to build one just some basic carpentry knowledge.
How To Build An Outhouse
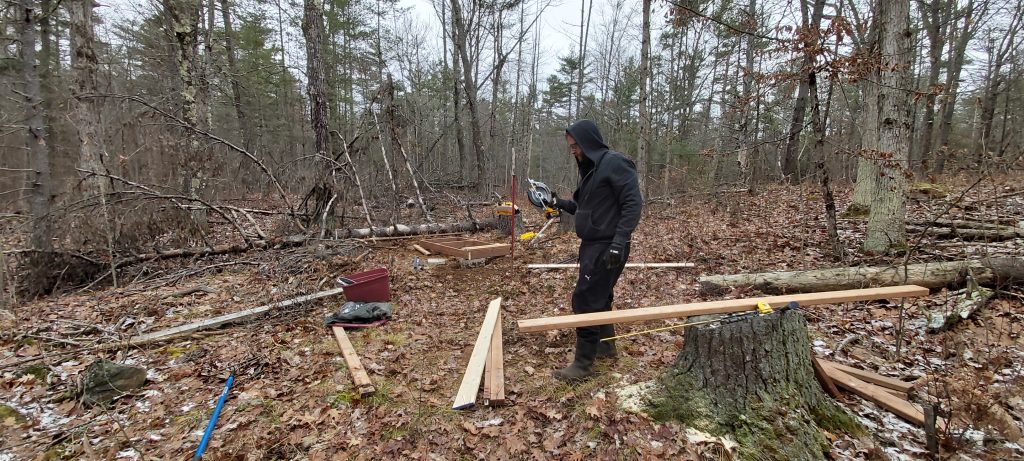
After you have established an outhouse location and have dug the outhouse pit you can start building your outhouse. Get your supplies, tools and lumber organized and the process of actually building one should be straight forward. Once you figured out how to get all your supplies to your private campsite you can start building.
Step 1 – The Outhouse Foundation
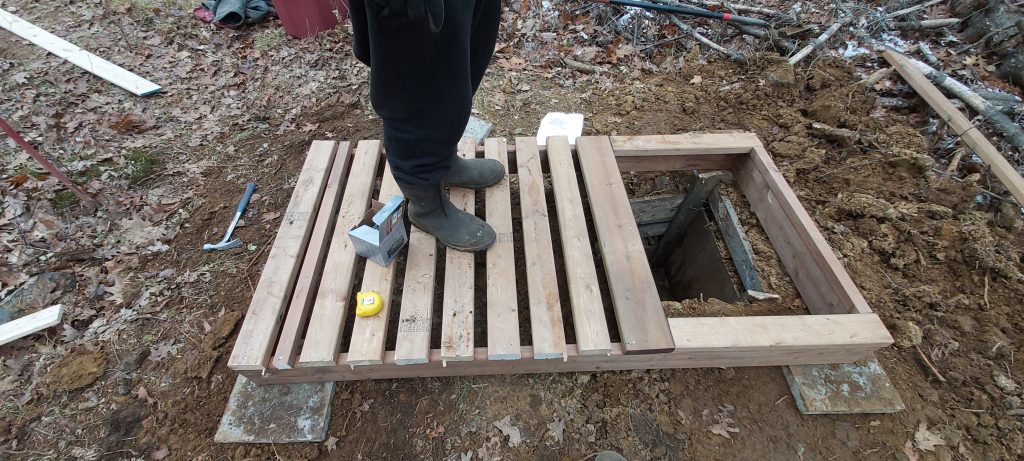
After you level the ground you can set the base on the dirt or use stones or cinder-blocks depending on the slop. Build the base of the outhouse using pressure treated lumber to avoid rot and have good use of your outhouse for years to come. We used 2×6 pressure treated lumber for the base. Approximately 72 inches long and 3 feet wide. You can use screws or nails to but we used nails for durability.
After you build the skeleton of the base you can use 2×6 or 2×4 lumber as decking boards. Use pressure treated lumber for the decking as this part of the base will be exposed to weather. Measure the total length of the base and see how many boards you can make with the lumber you have. You will need these pieces roughly 36 inches long. Make sure you space these boards out to prevent water from pooling on the small deck. Screw or nail the decking to the frame. Line up the frame with your pit.
Step 2 – The Outhouse Walls
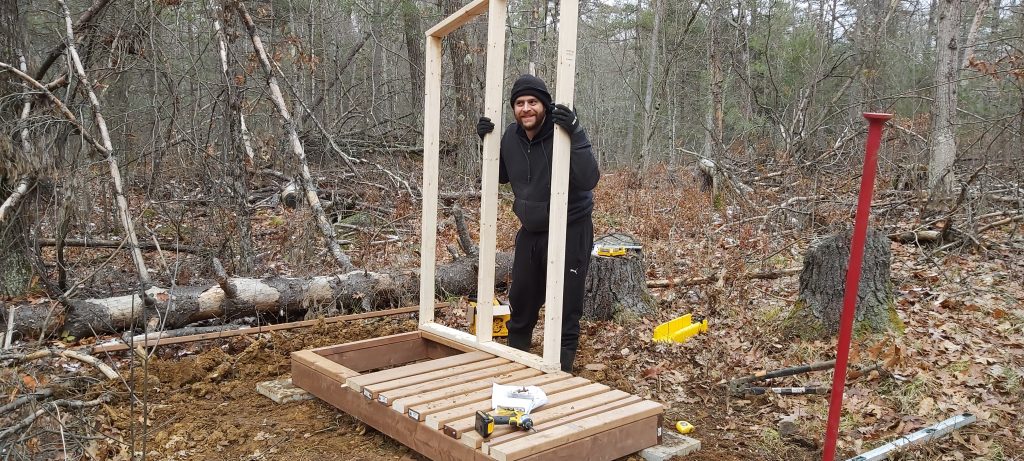
The second step is building and erecting the two side walls of the outhouse. Frame the walls on level ground or on top of the outhouse base you just built. The wall width should be around 46 inches while the height just over 80 inches in the front and 68 inches in the back. You will want to use a stud in the middle of the wall for stability. Place the middle stud approximately 23 inches from the front. The difference in height will give you enough slope to prevent water from pooling. Cut the lumber and use nails or screws to connect everything. Once you get the walls set up attach the plywood sheet on each wall. Lay the plywood sheet on the ground and place the wall frame on top. Use a pencil to mark the top slope. Then use your jigsaw to cut the excess plywood piece. Use nails or small screws to attach the plywood piece on the wood frame. You can use one whole sheet of 4 foot basic construction plywood to make life easier. Or you can use scraps of plywood and connect accordingly.
Step 3 – Stabilizing The Outhouse Walls
Once you build the outhouse walls you will now have to erect them on the base. Use 3 inch construction or desking screws for attaching the outhouse walls to the base so that you can remove the if you ever need to move the outhouse at some point in time. You can move the outhouse easier by removing the walls and roof and then just slide the base over to a new hole.
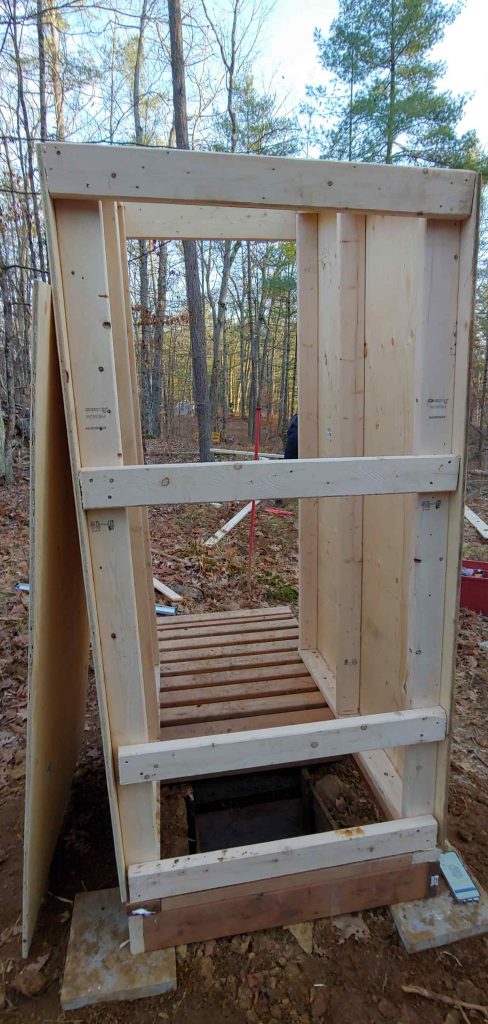
Once the walls are secured on the base with the screws you will need to secure them to each other. Cut 4 pieces of 2×4 or 2×6 and start connecting. Each pieces should be about 26 inches long. The back side of the outhouse will need one piece at the top flush with the roof one in middle and one at the bottom. The 4th pieces should be about 14 inches from the bottom piece. The idea here is that you need that piece at that height so that you can build the outhouse seat at that height. So you will need to be comfortable when sitting down to use the outhouse. Use the 5th 36 inch piece for the top front of the outhouse.
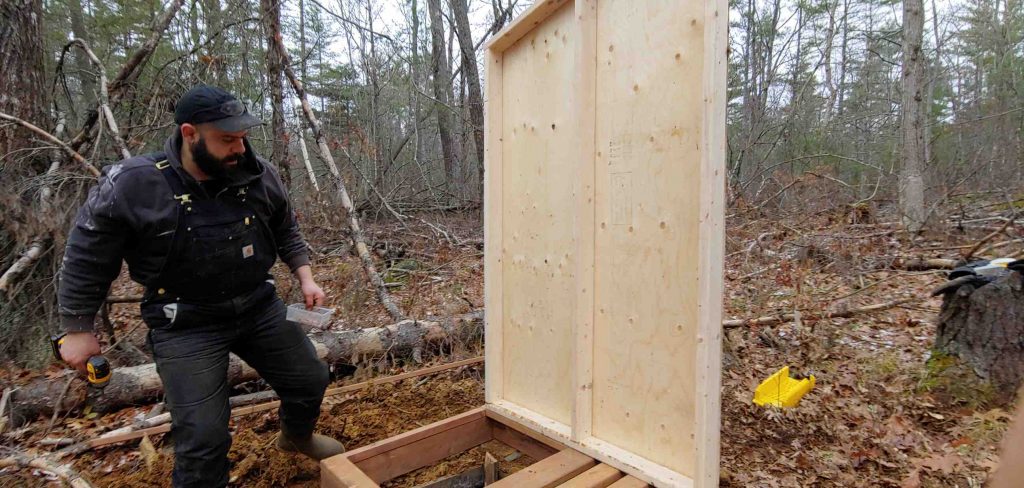
Closing the Back Wall of the Outhouse
Measure the dimensions of the back first as the actual measurements will vary. If you have a solid piece of plywood that fits the dimensions go ahead and cut and install. Or you can use scrap pieces that you might have left over from the construction process at this point. Use plywood screws or nails to attach the back.
Step 4 – The Outhouse Roof
Attach two 2×4 or 2×4 pieces of wood on the roof of the structure to connect the two walls at the top. Measure the distance on the inner parts of the two side walls of the outhouse and cut two pieces of wood. Place them on the inside of the walls and connect use screws to stabilize them. These two top pieces serve a dual purpose. We are installing these two pieces to “button” the two sidewalls of the outhouse together and to support the sheet of plywood on the roof.
Once these two pieces are installed we can now proceed with installing the piece of plywood that will be the roof of the structure. Measure the roof at this point and cut a piece of plywood in those dimensions. You would want to measure about 1 or 2 inches more in the back as you would want the roof part of the outhouse to extend over the back wall. This will prevent water from coming in from the roof in the back. Use smaller nails or smaller screws to attach the roof plywood to the studs and walls.
You can use Blueskin to cover the roof or piece of corrugated metal or plastic. You can even use roof shingles
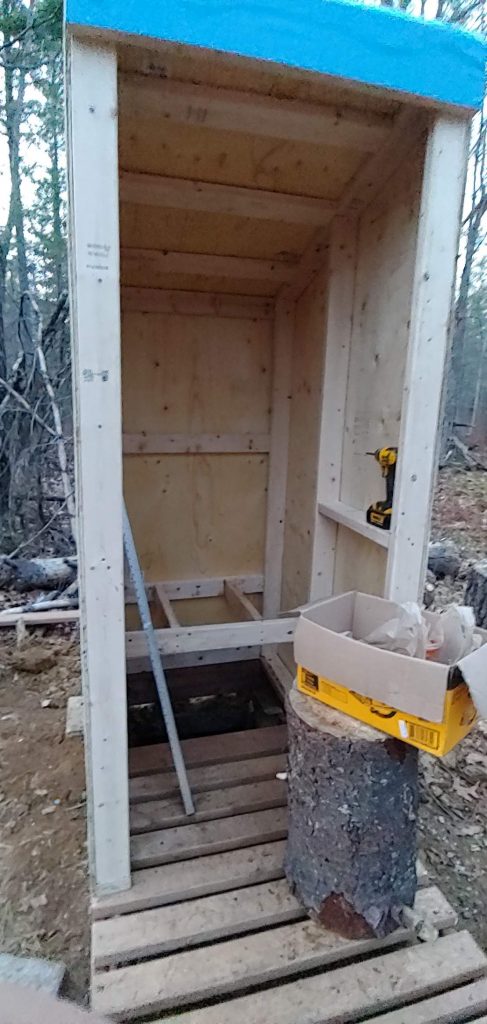
Step 5 – The Outhouse Seat
You already have the back side of the seat installed from step 3. It should be about 14 inches from the floor of the outhouse. Use 2×4 pieces and attach them on the interior on the same level as that back piece. Both side walls and the front. This will be the frame of the seat. Screw those pieces in so that you create a rectangle frame on the interior. You might want to use a stabilizer piece in the front of the frame. Measure the opening in the front cut a piece of plywood to fit those dimensions, cut the corners so that it is snug against the wall studs and screw it on the base of the seat. You will have to use a jigsaw to create the open of the seat – the business end of the seat. Measure cut and install he front cover of the seat.
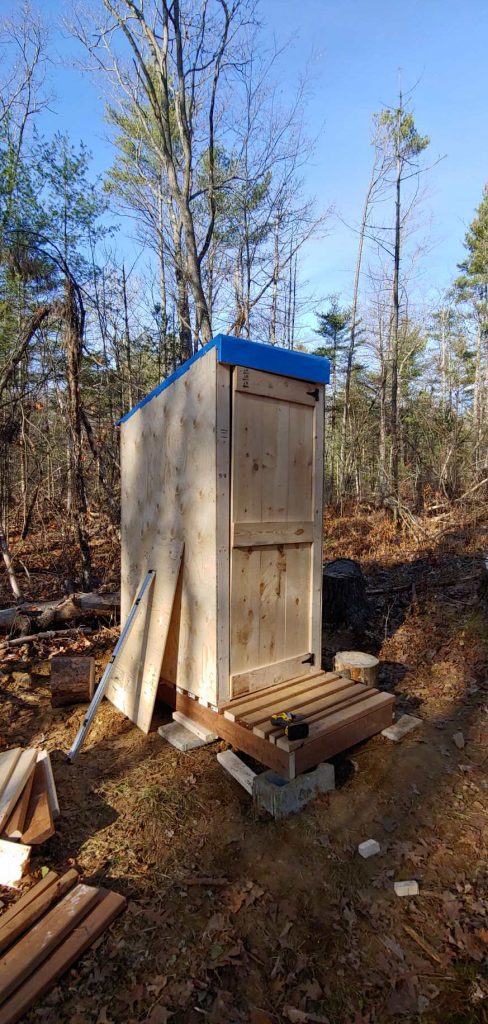
Step 6 – Outhouse Door
There are several ways to build a door for your outhouse. You can use a piece of plywood and strengthen it with 1×6 pieces or you can use 1×10 boards and connect them with 1×6 or 1×4 pieces to create a design. Measure the dimensions of the door opening and start cutting your boards. The height should be approximately 77 inches and width just under 28 inches. So 3 1×0 boards should be just enough to make your door. Line up 3 1×10 boards on the ground and connect them with the 1×6 pieces. One at the very top, one at the bottom and one in the middle. Your door should start taking shape. You will need at least two, ideally 3 gate hinges with exterior finish, screw each one on the 2×6 boards. Attach the hinges on the door first. Lift the door in place and connect each hinge on the stud. Leave a large enough gap on the bottom so the door opens even when there is ice buildup or debris on the decking,.
Other Considerations – Outhouse ventilation
Last thing you want is an un-ventilated outhouse pit. Or a ripe outhouse pit ventilating inside the outhouse. Cut a circular hole in the flat surface behind the toilet seat opening slightly smaller than 4 inches in diameter. Cut a hole on the outhouse roof slightly larger than 4 inches. The two holes need to line up with each other. Insert the 4 inch pipe through the roof hole and onto the seat hole. The pipe is larger than the bottom hole and should stay in place with caulking. Use black pipe so that the sun warms up the exterior portion of the pipe and creates an updraft from the pit to remove odours. If you can find black pvc pipe you can paint the pipe.
Tools
- Drills
- Tape Measure
- Hammer
- Drill
- Circular Saw
- Jigsaw
Other Materials
- 3 inch nails
- 3 inch screws
- Smaller nails and screws for plywood